Skip to content

Get blog updates in your inbox!  Sign up

Instagram
  • Home
  • Blog
  • Work With Me
Trending: Plank Doors
The Beckler Abode
  • Home
  • DIY
  • Design
  • Blog
  • Work With Me
  • About
The Beckler Abode
The Beckler Abode
  • pumpkin bucket string lights hanging in a tree lit up at dark
    DIYs

    How to Make Pumpkin Bucket String Lights (& Bring Back a Little Halloween Nostalgia)

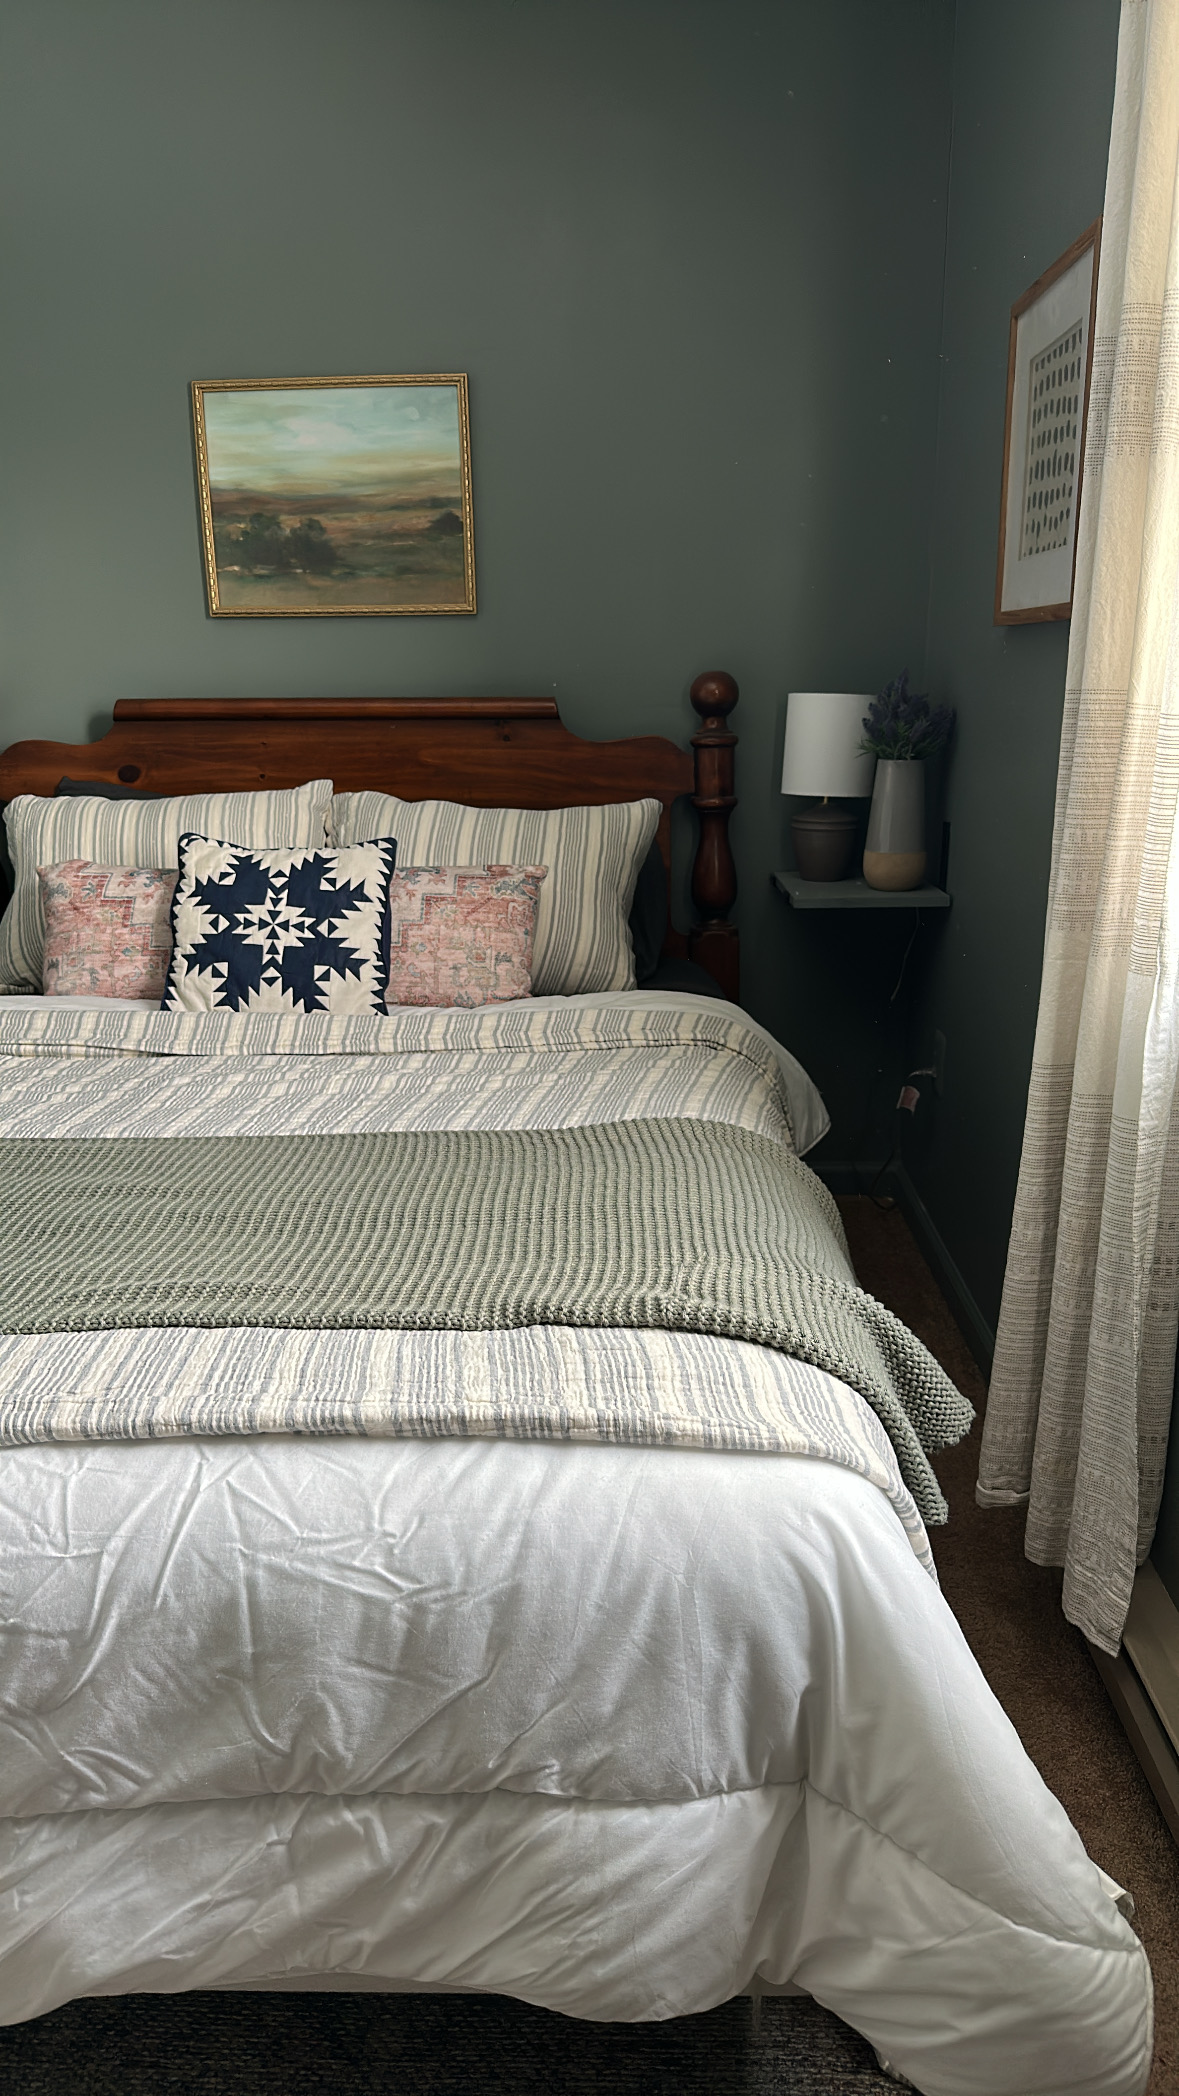
  • guest bedroom painted in Sherwin Williams Taiga
    Design | Uncategorized

    The Exact Paint Colors We Used In Our Warm, Earthy Home

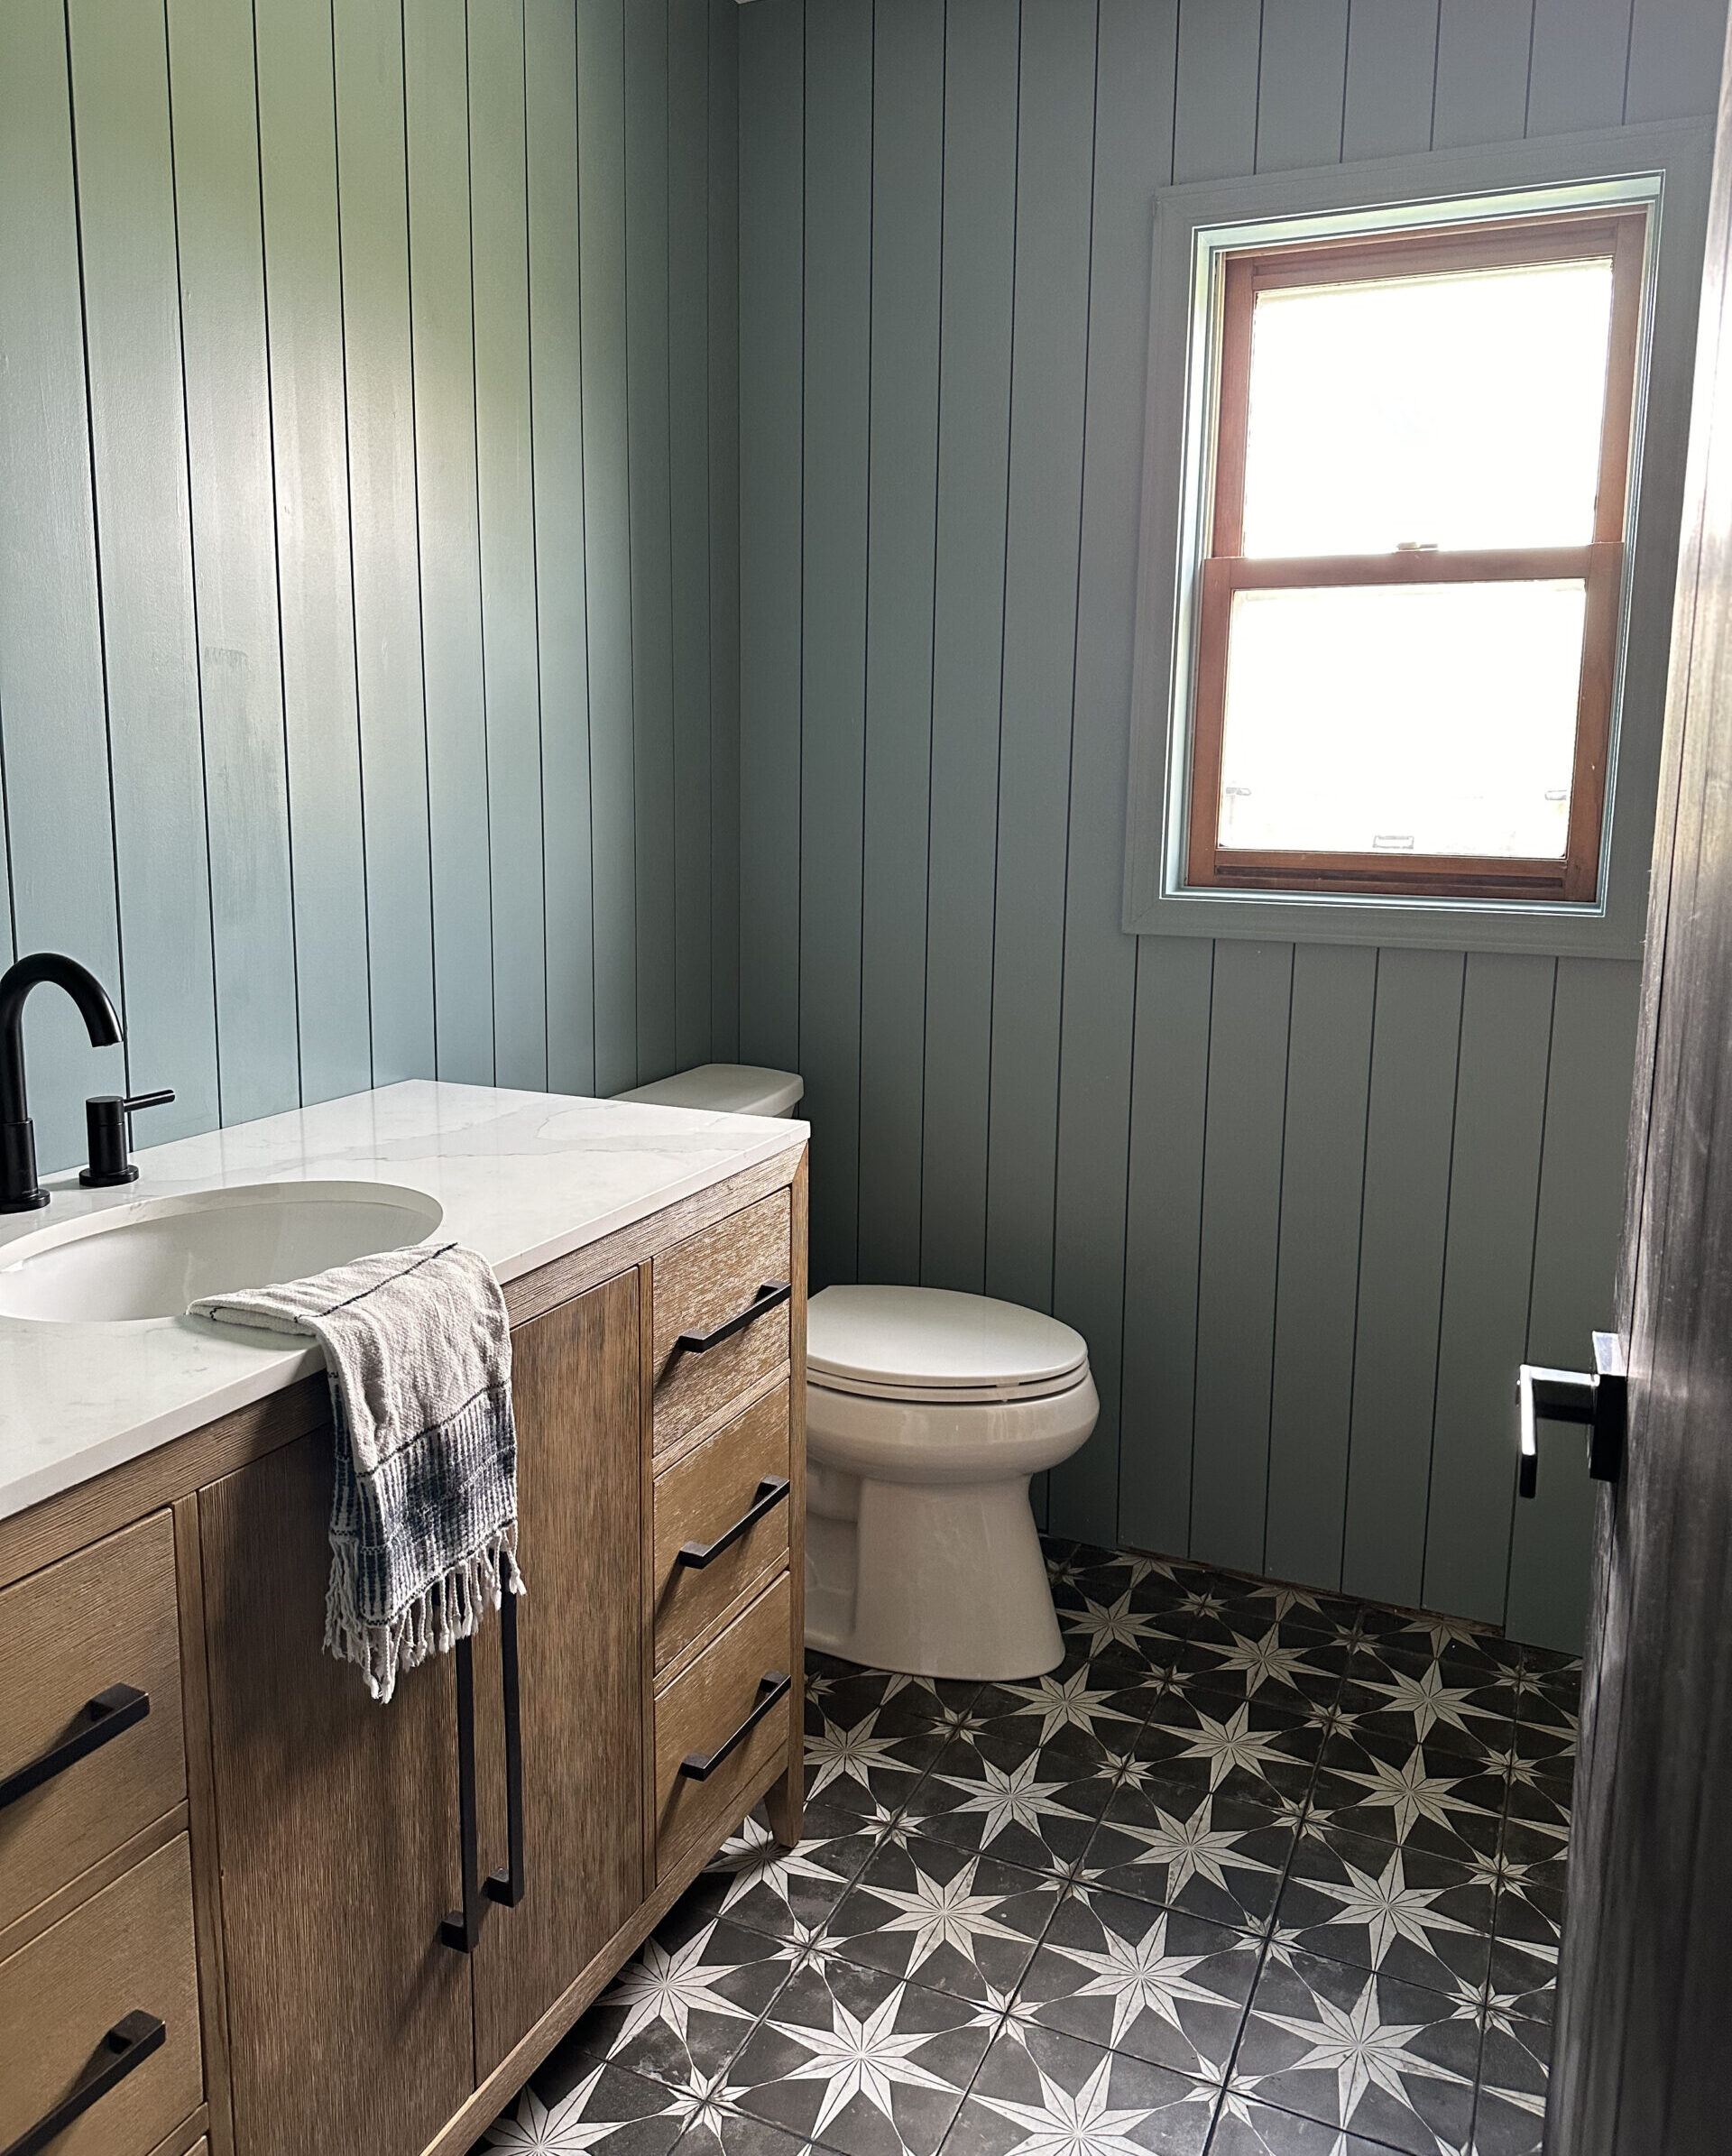
  • blue vertical shiplap in bathroom with wood vanity and black and white star tile floors
    DIYs | Uncategorized

    What I Wish I Knew Before Installing Vertical Shiplap

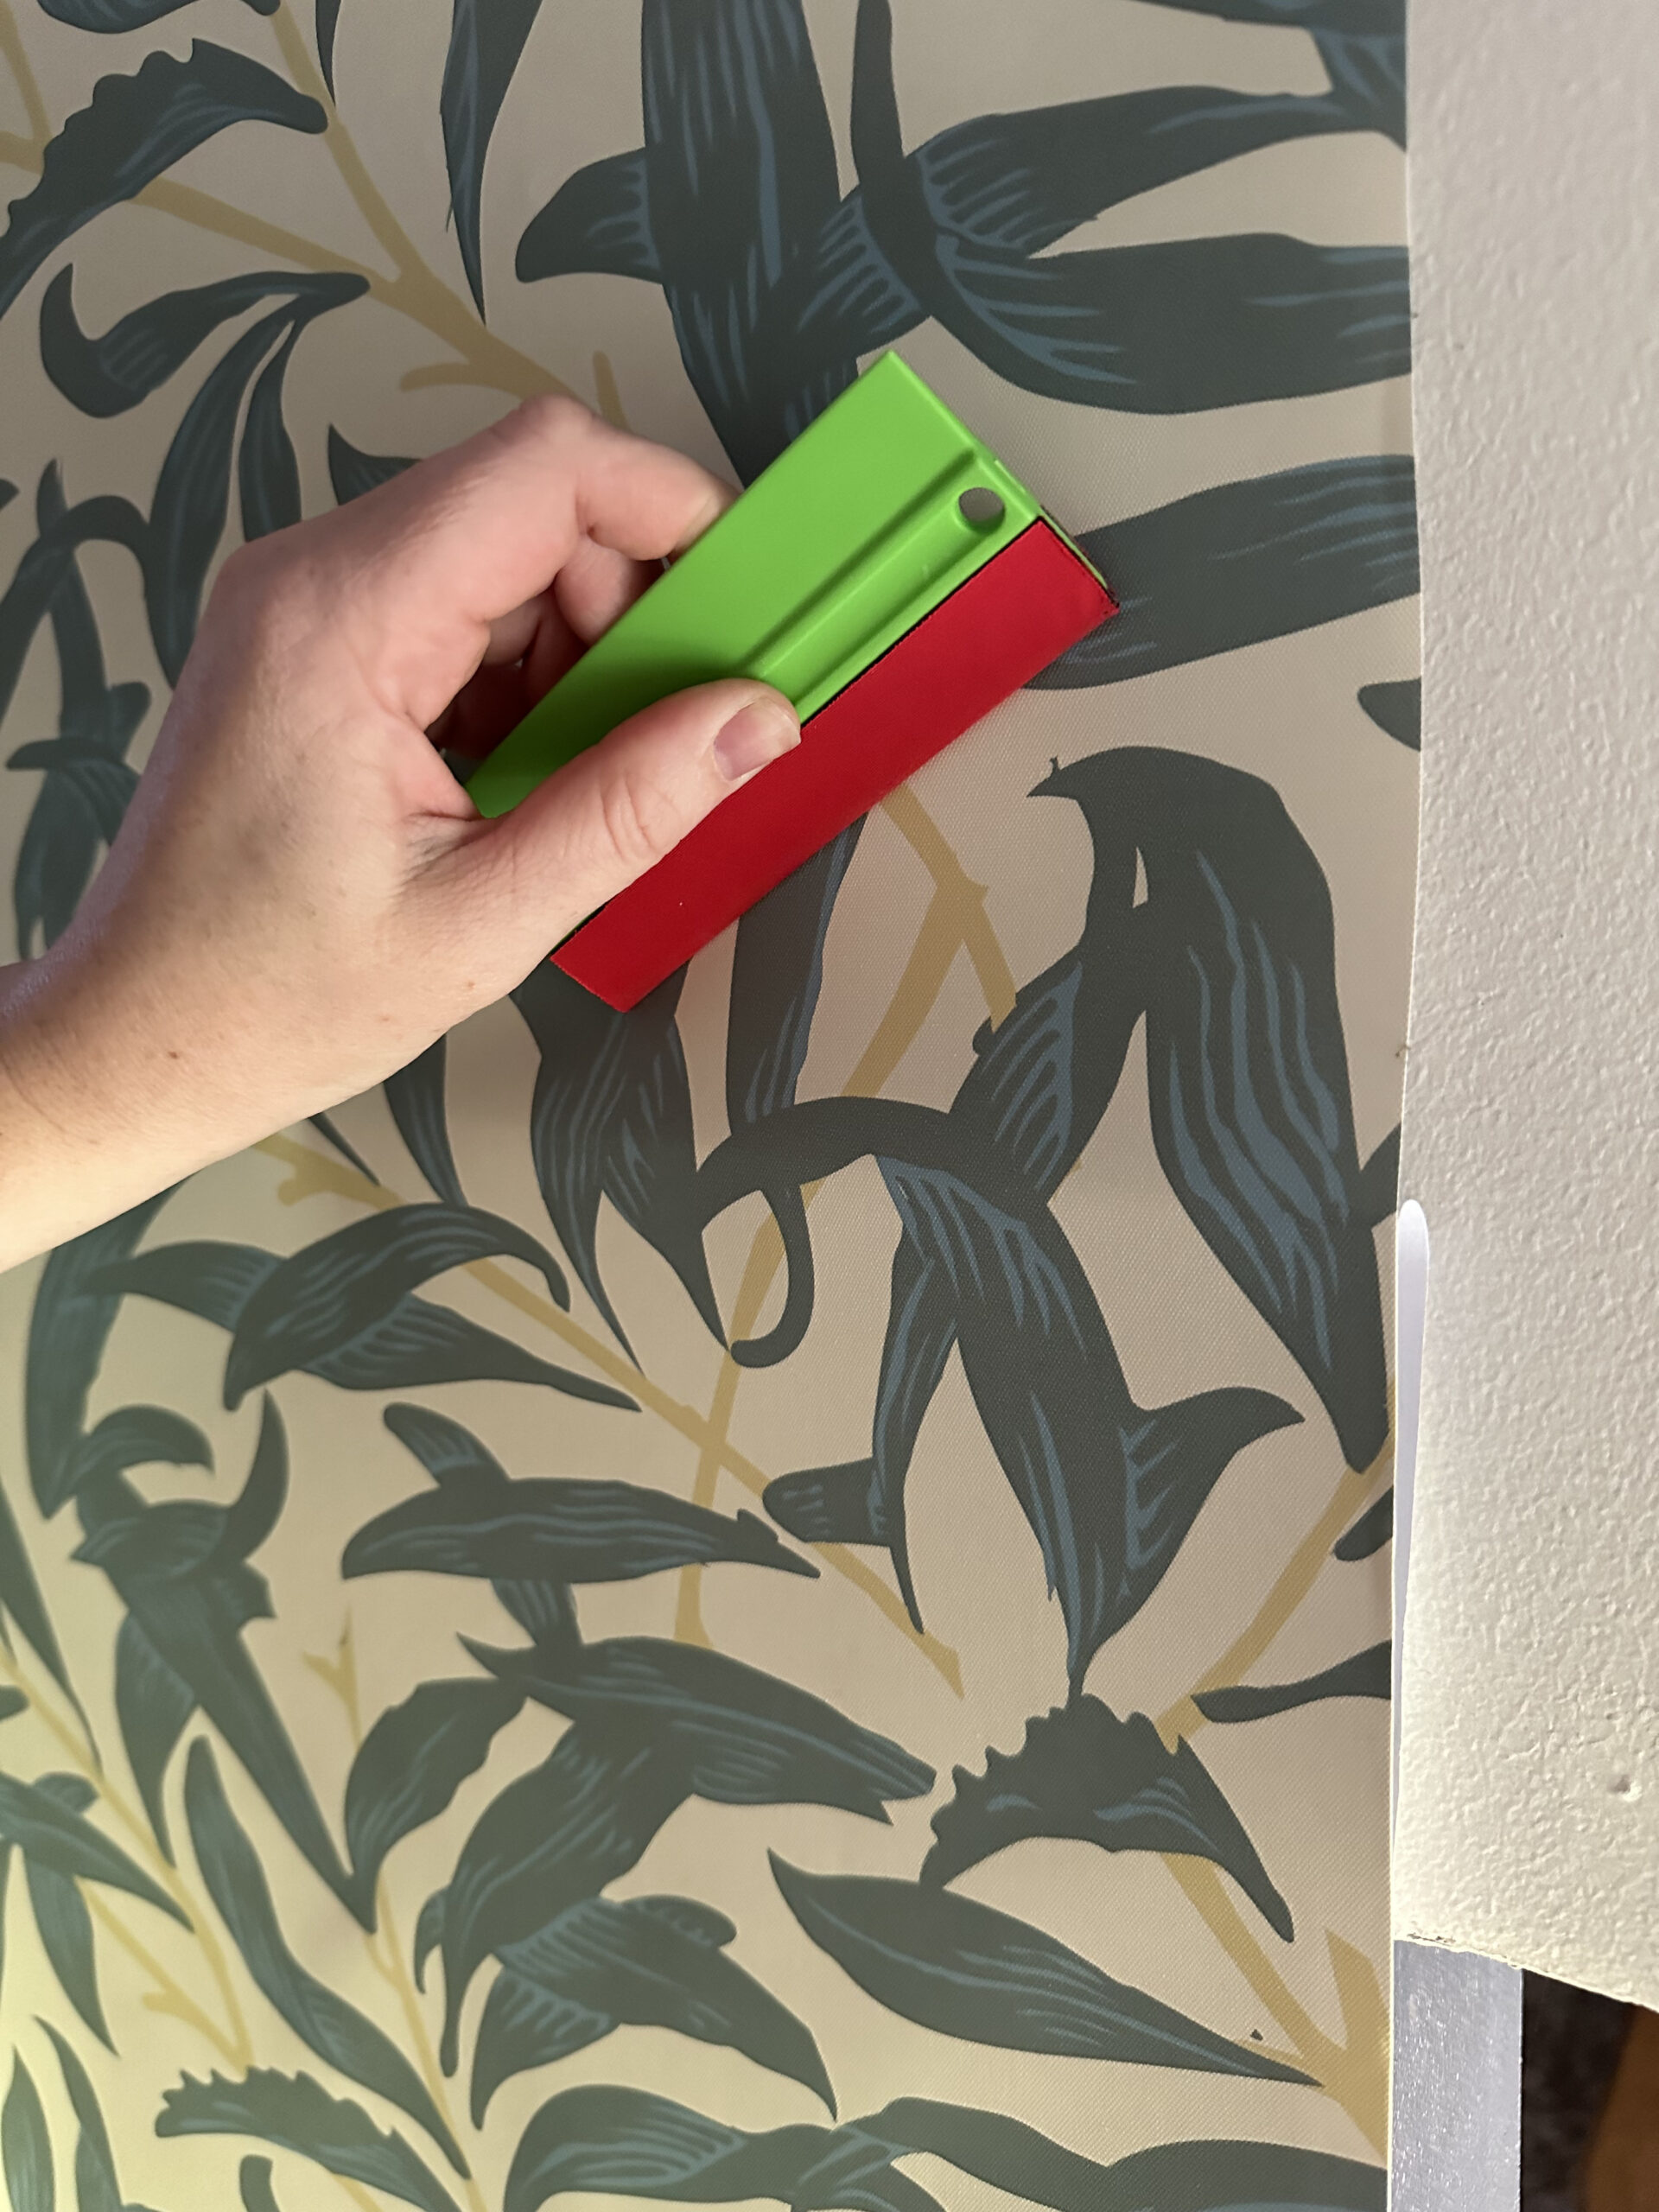
  • using a smoothing tool to smooth wallpaper
    DIYs | Uncategorized

    What I Wish I Knew Before Using Peel & Stick Wallpaper

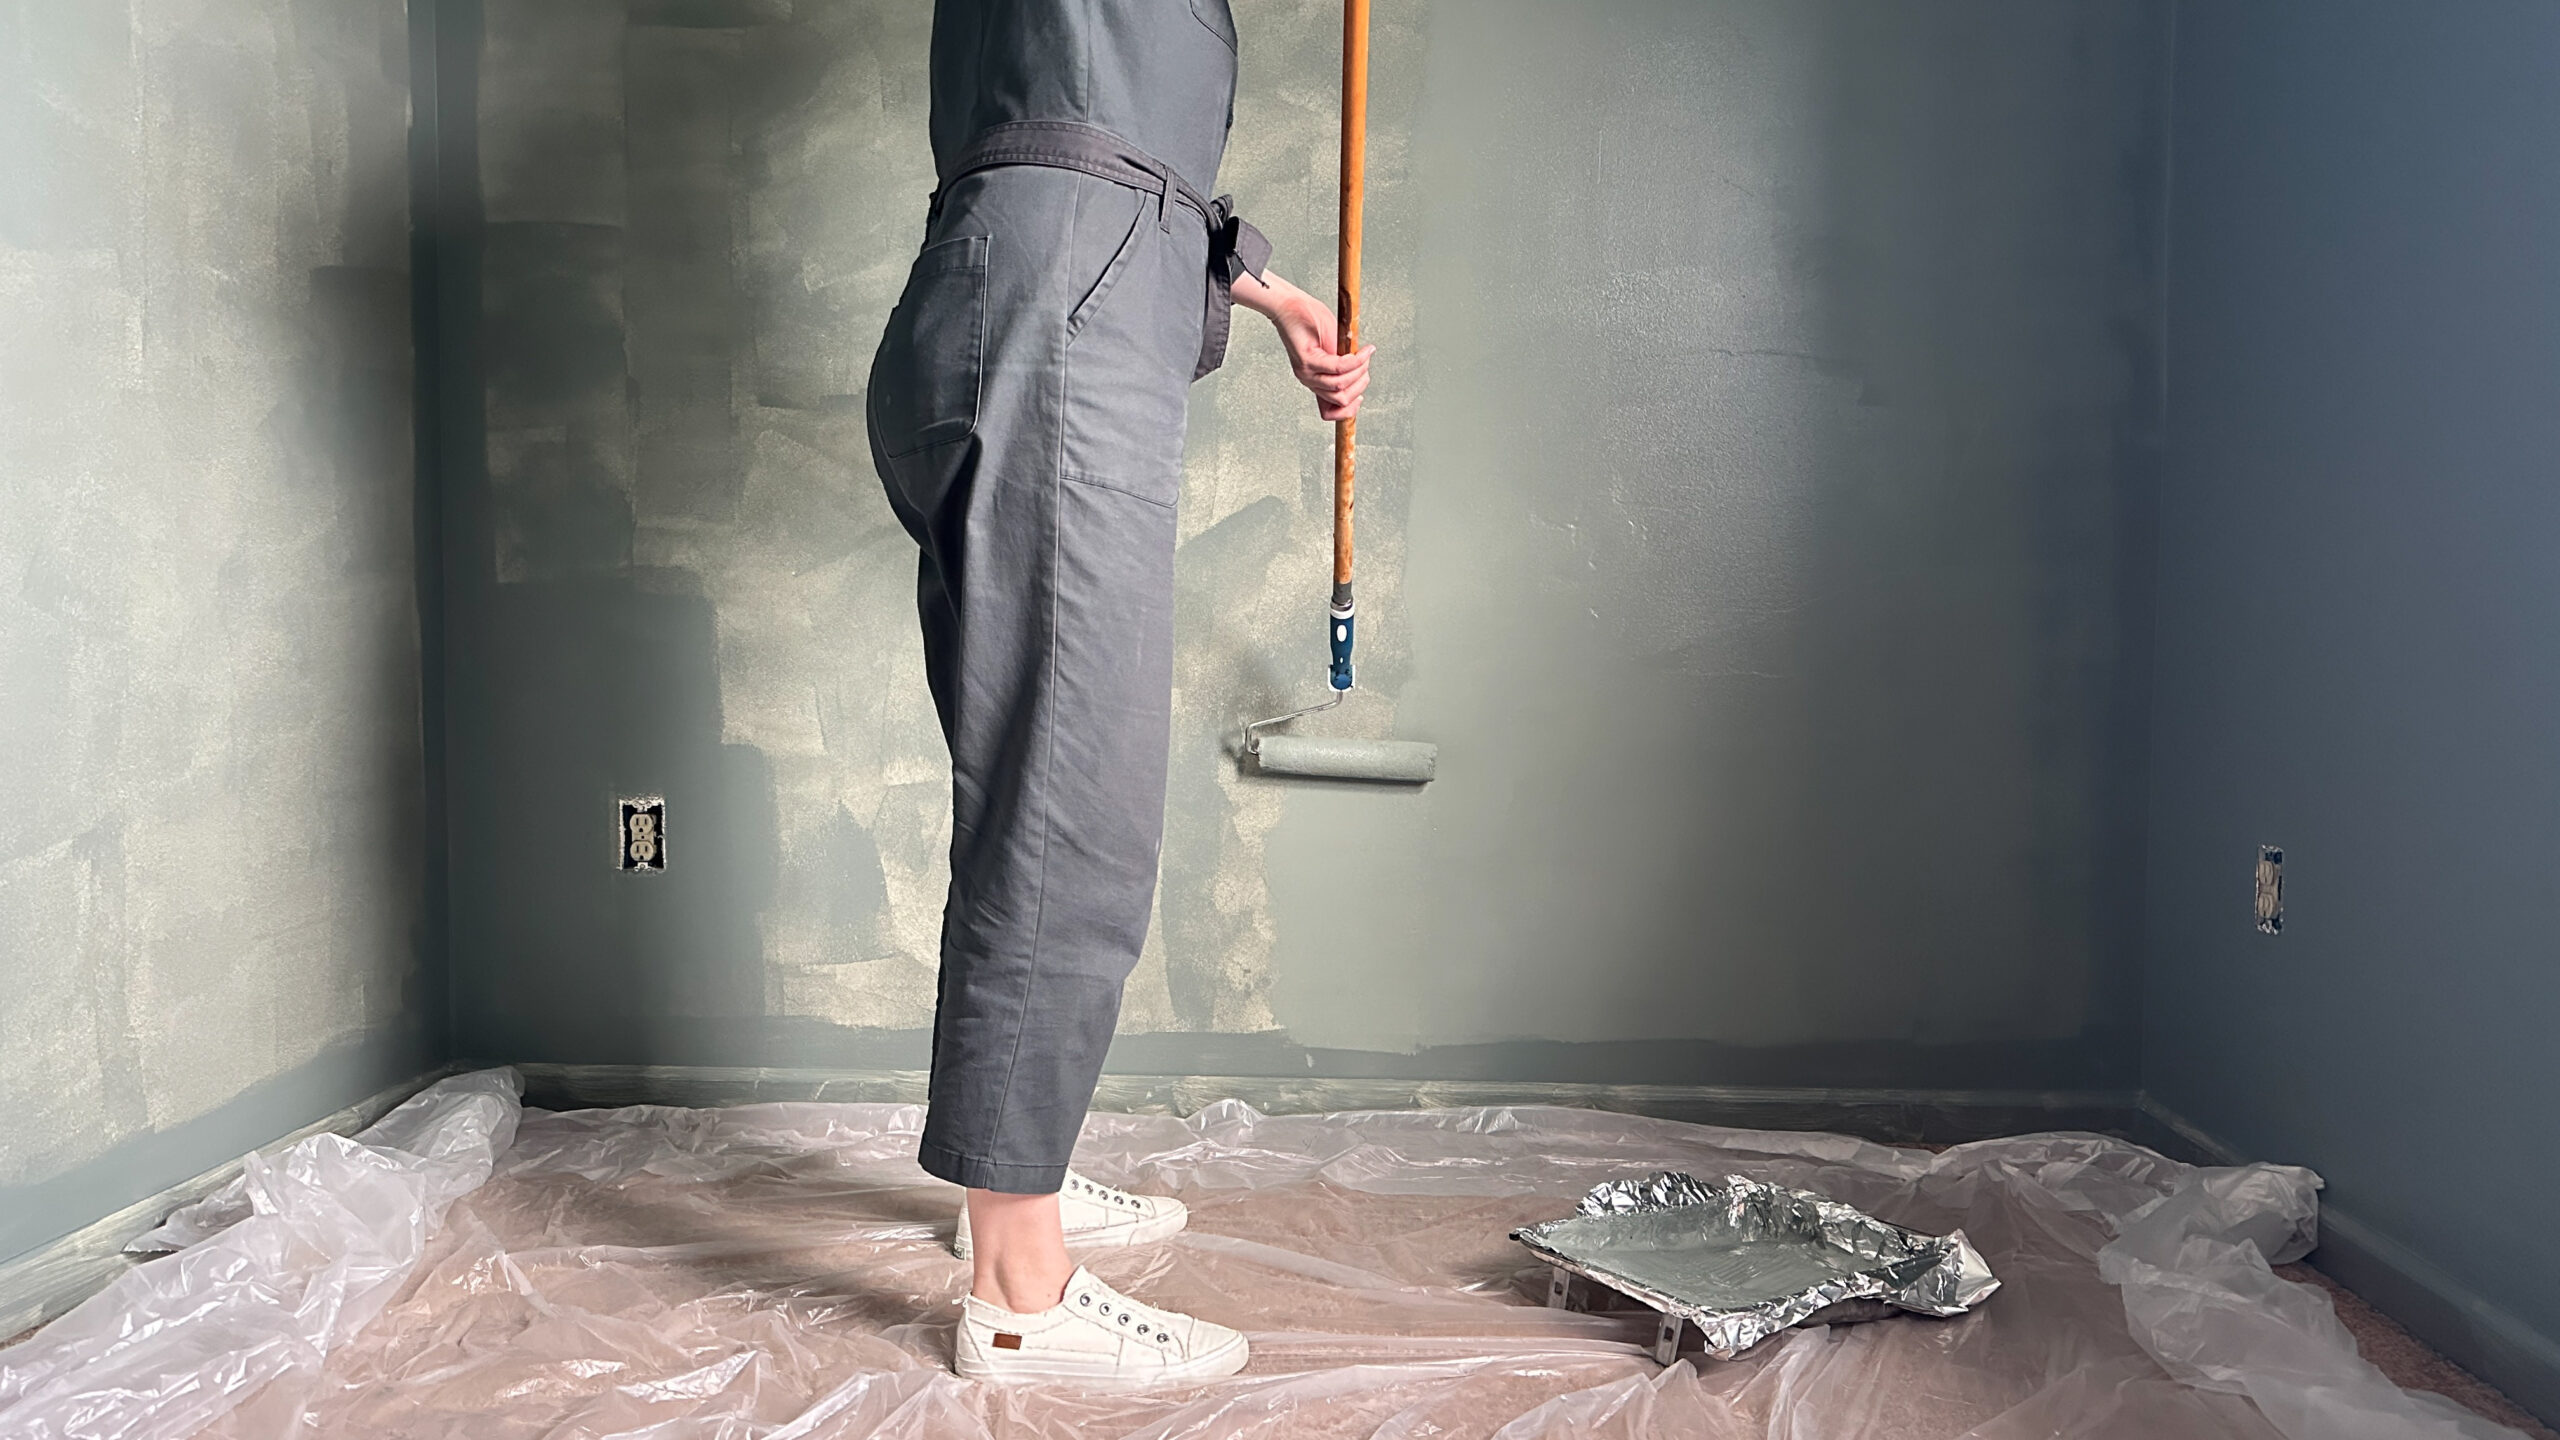
  • using a long roller to paint a wall
    DIYs | Paint | Uncategorized

    What I Wish I Knew Before Painting a Room

  • staircase with carpet removed
    Design | DIYs | Uncategorized

    Our Staircase Makeover – Part One

  • cutting lettuce from raised garden bed
    DIYs | Everyday Abode | Uncategorized

    How to Build Inexpensive Raised Garden Beds

  • hallway walls painted Sherwin Williams Shoji White
    Design | DIYs | Uncategorized

    Adding Character to our Hallway with DIY Plank Doors

  • guest bedroom makeover painted Sherwin Williams Taiga
    Design | Paint | Uncategorized

    How I Used Paint to Transform Our Small Guest Bedroom

  • DIY electric fireplace
    Design | DIYs | Uncategorized

    How to Build a Fireplace

Page navigation

1 2 Next PageNext

If you know, you know😉 This scene popped into my h If you know, you know😉 This scene popped into my head when I started nailing the planks to the ceiling and now it’s all I’ve said to myself for months as I’m working🤣
The DIY story of our living room💙 The DIY story of our living room💙
Happy October! These pumpkin string lights were su Happy October! These pumpkin string lights were such a fun, nostalgic Halloween DIY to make last year, and they only took an afternoon! I love watching them light up every evening in our front yard!🎃

Comment PUMPKIN and I’ll send what you need to make them!
I didn’t really have a plan for this staircase oth I didn’t really have a plan for this staircase other than knowing I didn’t want it to look the way it did😅 Once I chose the wallpaper, it slowly came together from there. 

I pulled the paint colors for the stairs and ceiling from the wallpaper. After seeing someone put shiplap planks on a stairwell on Pinterest, I couldn’t get the idea out of my head. And after a few months of searching, I finally found the perfect runner on Etsy. 

This whole makeover took me around two years. 

Do I wish I could pull off projects quicker in my house? Absolutely. But there’s something to taking your time, thinking through them, and, in the end, knowing you created it with your own hands that is a special kind of satisfaction.
How do you deal with spaces in your home you haven How do you deal with spaces in your home you haven’t renovated yet? I’ll admit, I tend to turn a blind eye to them!😬 And this forgotten corner of our patio was in rough shape. I dream about building a beautiful outdoor kitchen here someday, but with too many other projects currently going on, I won’t be able to sneak this one onto my 2026 list. So instead, I challenged myself to see how much better I could make this space in just one weekend.

Thanks to @SKILpowertools, I think I made some serious progress! SKIL’s Brushless PWRCORE 40 Leaf Blower made quick work of getting rid of years of leaves and debris, and their Power Scrubber continues to be one of my favorite tools for keeping our outdoor spaces clean. 

Sometimes it doesn’t take a big renovation or huge makeover to make you love your spaces more.

#ad #SKILPartner #NewSKILUnlocked🔓
After two years and having to install the stair ru After two years and having to install the stair runner twice🙃, I am so happy to say my staircase makeover is complete! 

This project happened in stages because sometimes that’s how life goes. But I’m actually glad I took my time because it gave me space to think through some of my decisions and create a space I really love. 

•I really wanted to have some fun with pattern mixing and it took me some time to find a runner that felt right with the wallpaper. I’m glad I didn’t try to force something that wasn’t quite it.

• Adding the shiplap to the ceiling made the biggest difference to me. You would think it would’ve been the wallpaper, but that dang crow’s foot ceiling texture hit you in the face every time you walked down the stairs🤪 Now I get to look up and see this beautiful creamy shiplap, and it makes me so happy. 

• I had seriously contemplated getting stair treads that matched our flooring, but in the end decided to save the money and paint them instead, and honestly, I think the green just adds this fun, whimsical vibe to the staircase that I love so much. 

Sometimes I get so frustrated by how long home projects take me, but I’m starting to appreciate that the slower pace gives me time to pause, really think about what I want, and make sure that I’m deciding for myself and not just reacting to what’s trending on the internet that day😅

#staircasemakeover #paintedstairs #staircasedesign #stairrunner #wallpaperlove
Now that the plank part of my plank and beam ceili Now that the plank part of my plank and beam ceiling is done, was all that hauling plywood around to cut (and recut 🫠) worth it? I’d say yes!

Making planks out of 1/4” plywood definitely took more time, but it did save me money and finally gave me the planked ceiling I’ve wanted in our bedroom for years.

And considering I managed to mess up three whole sheets of plywood along the way🙃 I’m pretty happy with those numbers.

What’s worth more to you? Time or money?

#plankceiling #diyceiling #plywoodceiling #bedroommakeover #diyhomeprojects
Ok I am clearly not going to be a food influencer Ok I am clearly not going to be a food influencer any time soon😂 but this might be my new favorite way to use all of the tomatoes coming out of our garden right now🙌 Fresh, summery and absolutely delicious!

Whipped Ricotta & Fresh Tomato Dip

• 1½ cups cherry tomatoes, quartered
• ½ Roma tomato, diced
• 15 oz ricotta
• olive oil
• balsamic glaze
• fresh basil, chopped
• lemon juice
• salt + pepper
• crusty bread

Quarter the cherry tomatoes and dice the Roma. Toss them with olive oil, balsamic glaze, and some salt and pepper, then let everything sit together for 10–15 minutes.

Slice your bread, brush with olive oil, and toast at 425° for about 6–8 minutes. (I got an herb crusted bread and it was amazing with this dip!)

While the bread is toasting, whisk the ricotta with a tablespoon of olive oil, squeeze of lemon juice, and salt and pepper until creamy.

Spread the whipped ricotta into a shallow bowl, spoon the tomatoes and all those good juices over the top, then finish with fresh basil and a drizzle of balsamic glaze.

And then try not to eat the entire bowl yourself😋

Also, if you’re wondering about the knives I’m using, they’re from @veranoknives! We’ve had a set of their knives for 3 years (back when they were Nakano) and they’re still the ones we reach for all the time. They recently sent me a few from their new line and I’m loving them too!

And they gave me a code for 20% off 🙌 If you’ve been needing some good new knives, comment KNIVES and I’ll send you the link!
  • Home
  • Blog
  • Work With Me

© 2026 The Beckler Abode • Rosemary Theme by Restored 316

  • Home
  • Blog
  • Work With Me
Search