
How to Make Pumpkin Bucket String Lights (& Bring Back a Little Halloween Nostalgia)
If you grew up trick-or-treating with those classic plastic pumpkin buckets, I have a fun DIY for you! 🎃
I wanted to add some friendly Halloween decor outside without spending a ton of money, and turning inexpensive pumpkin trick-or-treat buckets into string lights ended up being such a simple project, and it brought the perfect nostalgic whimsy once they were hanging!
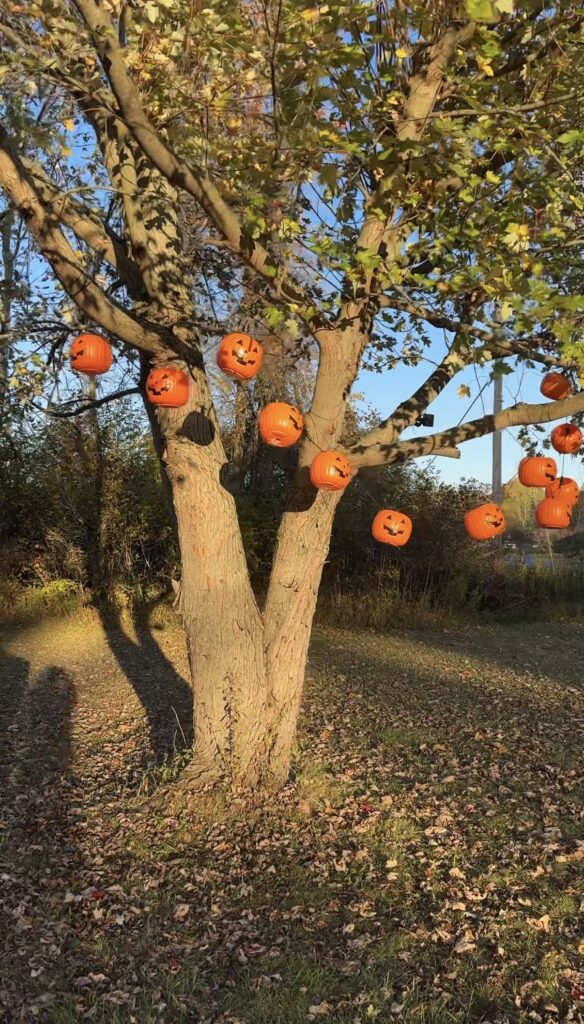
The best part? You only need a few supplies, there’s nothing particularly complicated about it, and you can do the whole project in an afternoon (I’ve fallen for that line before too, but I promise you you can!).
Quick note: This post contains affiliate links. If you purchase something from a link, I will receive a small commission. This is at no extra cost to you! Thank you for your support!
Materials Needed
This post may contain affiliate links, which means I may earn a small commission if you purchase through one of my links at no additional cost to you.
- Plastic trick-or-treat pumpkin buckets (make sure you have enough for the number of lights you get!)
- Solar powered outdoor string lights
- Drill and spade drill bit
- Utility scissors or other cutting tool
- Zip ties
- String or hooks depending on how you want to hang them

How to make pumpkin bucket string lights
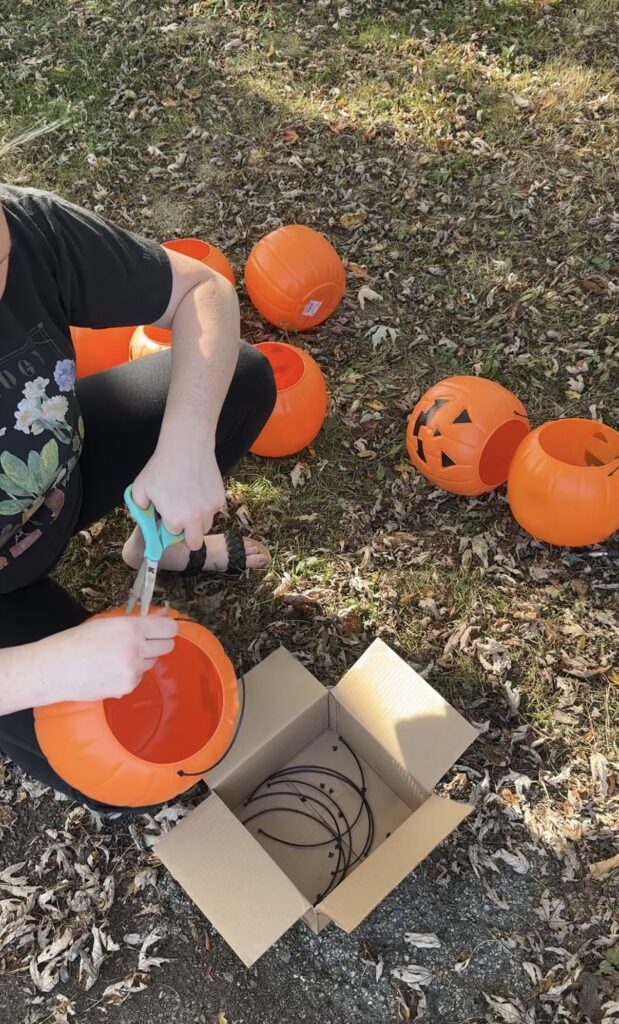
1. CUT THE HANDLES OFF EACH PUMPKIN
Use utility scissors to snip the handles off each pumpkin.
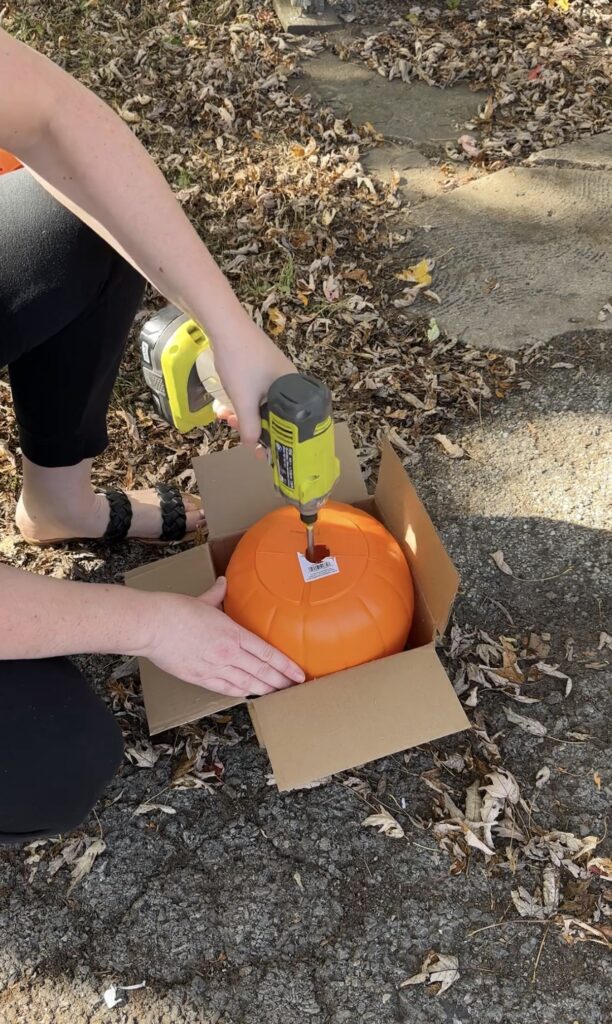
2. MAKE AN OPENING IN EACH PUMPKIN
Use the spade drill bit to drill a hole at least 1″ wide in the bottom of each pumpkin bucket. This will allow rain to drain out of each bucket.
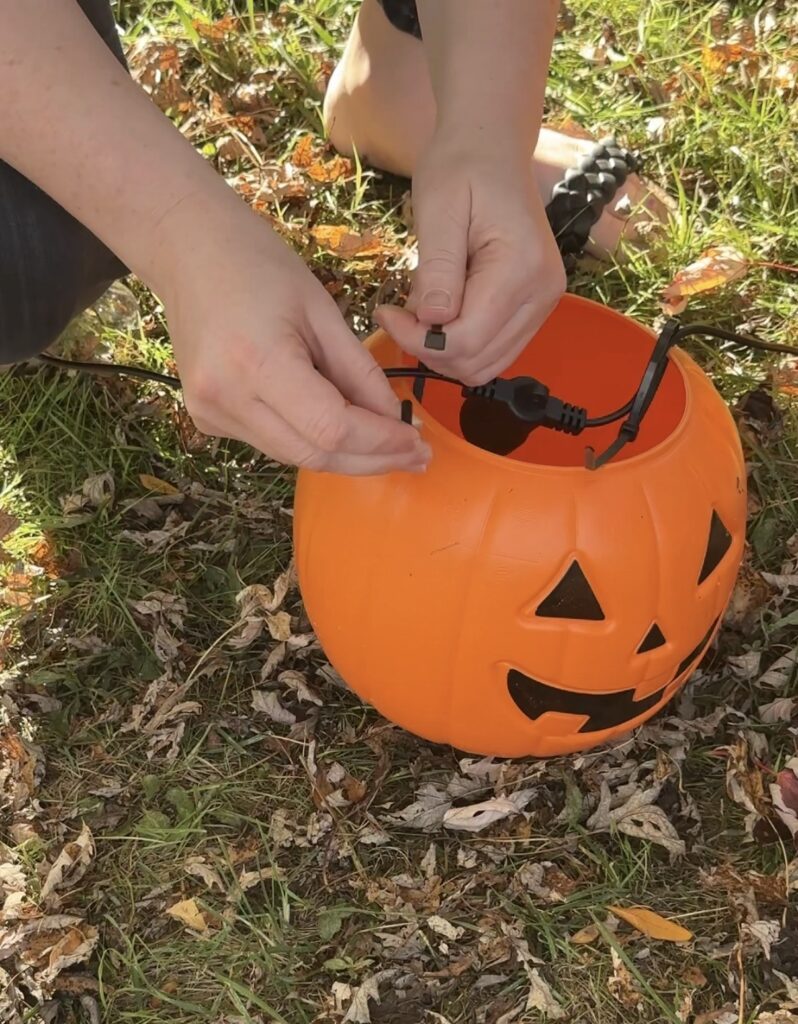
3. ADD THE LIGHTS
Put one light into each pumpkin bucket so that the bulb sits inside the pumpkin. Insert a zip tie into each of the holes where the handle was and wrap them around the string light rope.
I would advise tightening the zip tie enough to secure it but not all the way so you can adjust as needed as you hang them.
4. HANG YOUR PUMPKIN LIGHTS
Hang the finished strand across a porch, patio, fence, or like I did… in a tree! Use hooks or string or whatever works best for your location. Tighten the zip ties as you get the lights spread out and hung where you want them.
5. WAIT FOR IT TO GET DARK
Make sure to place the solar panel in a spot where it will get the most sunlight then wait until nightfall and enjoy a little Halloween glow! 🎃
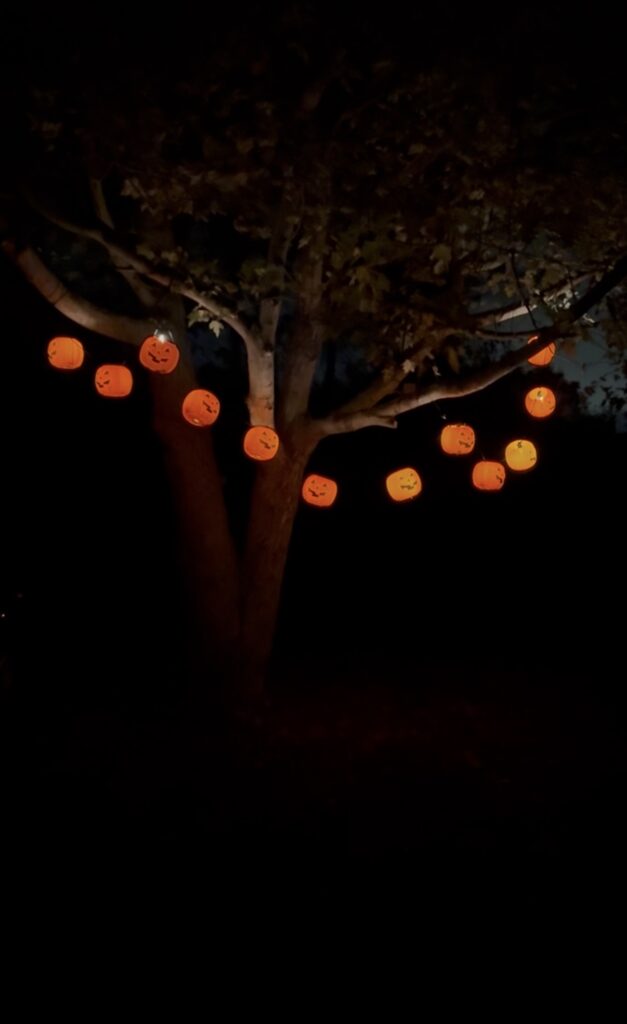
An Easy Halloween DIY You Can Use Every Year
This is exactly the kind of seasonal project I love: simple, inexpensive, and something I can pull back out year after year.
During the day, the pumpkins add a fun pop of orange to our front yard for spooky season, but at night when they’re all glowing is when they’re really good.
And because they’re made from classic trick-or-treat buckets, they have that nostalgic Halloween feel without being complicated or overly expensive.
If you’ve been looking for an easy outdoor Halloween decorating idea, this is it!