Skip to content

Get blog updates in your inbox!  Sign up

Instagram
  • Home
  • Blog
  • Work With Me
Trending: Plank Doors
The Beckler Abode
  • Home
  • DIY
  • Design
  • Blog
  • Work With Me
  • About
The Beckler Abode
The Beckler Abode
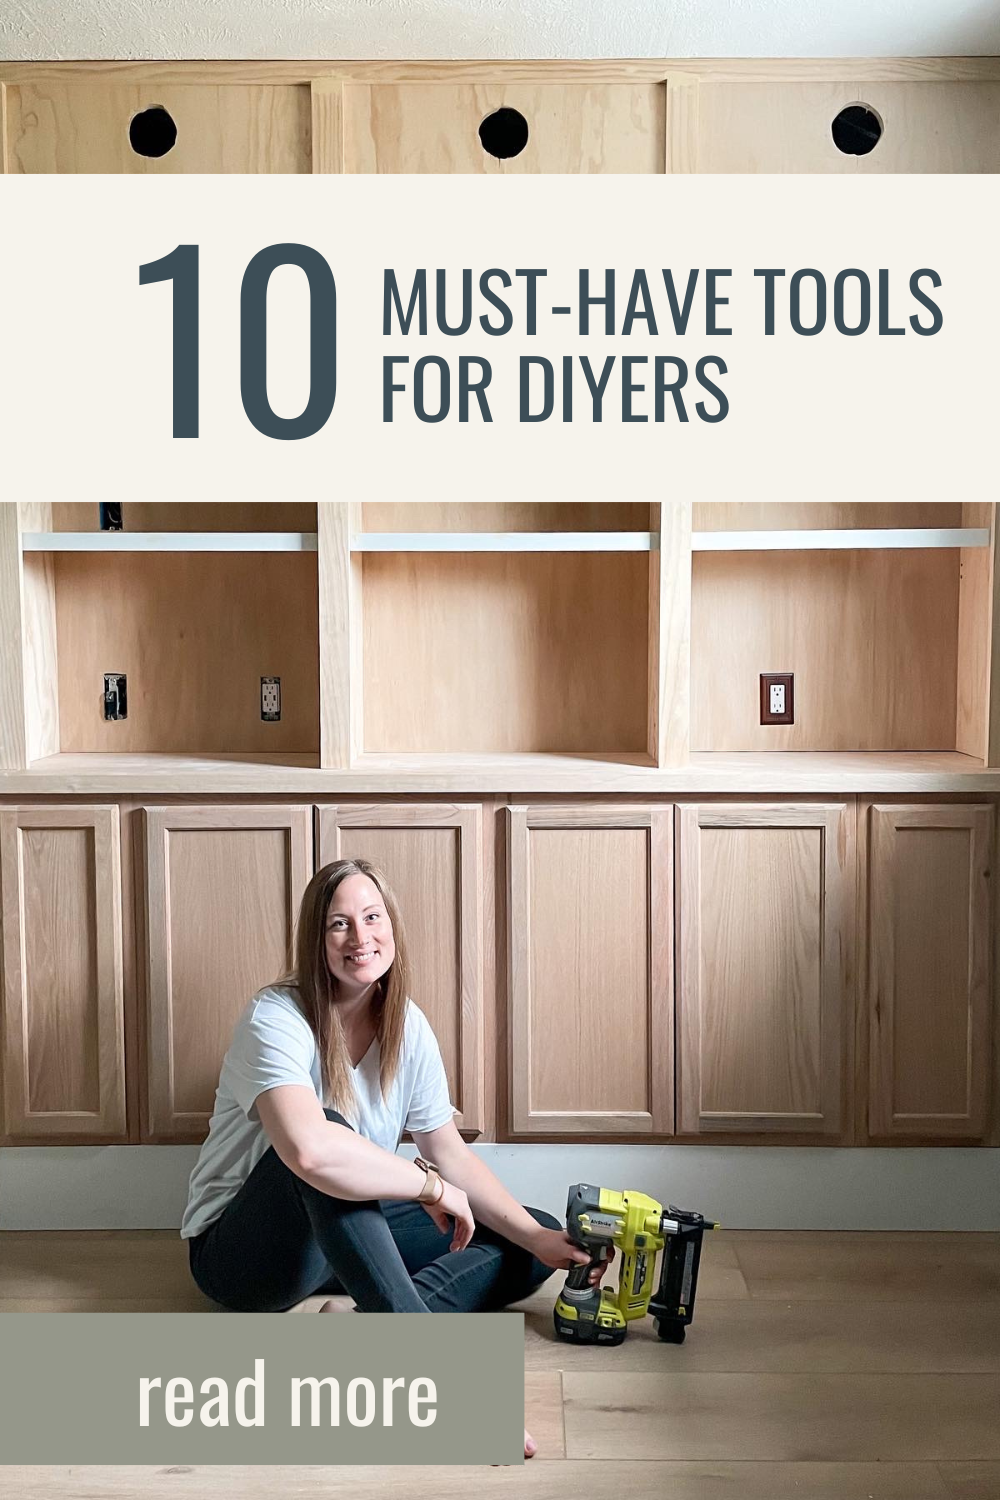
  • 10 Must-Have Tools for DIYers
    DIYs | Tools | Uncategorized

    10 Must-Have Tools for DIYers

  • dark blue ocean themed boys bedroom
    Design | Uncategorized

    Ocean-Themed Boy’s Bedroom Makeover

  • paint and roller
    DIYs | Paint | Uncategorized

    Essential Painting Supplies

  • fluted closet door in primary bedroom
    DIYs

    DIY Fluted Closet Door

  • female DIYer standing in front of painted door
    Design | DIYs | Paint | Uncategorized

    How to Choose the Wrong Paint Color

Page navigation

Previous PagePrevious 1 2

Ok I am clearly not going to be a food influencer Ok I am clearly not going to be a food influencer any time soon😂 but this might be my new favorite way to use all of the tomatoes coming out of our garden right now🙌 Fresh, summery and absolutely delicious!

Whipped Ricotta & Fresh Tomato Dip

• 1½ cups cherry tomatoes, quartered
• ½ Roma tomato, diced
• 15 oz ricotta
• olive oil
• balsamic glaze
• fresh basil, chopped
• lemon juice
• salt + pepper
• crusty bread

Quarter the cherry tomatoes and dice the Roma. Toss them with olive oil, balsamic glaze, and some salt and pepper, then let everything sit together for 10–15 minutes.

Slice your bread, brush with olive oil, and toast at 425° for about 6–8 minutes. (I got an herb crusted bread and it was amazing with this dip!)

While the bread is toasting, whisk the ricotta with a tablespoon of olive oil, squeeze of lemon juice, and salt and pepper until creamy.

Spread the whipped ricotta into a shallow bowl, spoon the tomatoes and all those good juices over the top, then finish with fresh basil and a drizzle of balsamic glaze.

And then try not to eat the entire bowl yourself😋

Also, if you’re wondering about the knives I’m using, they’re from @veranoknives! We’ve had a set of their knives for 3 years (back when they were Nakano) and they’re still the ones we reach for all the time. They recently sent me a few from their new line and I’m loving them too!

And they gave me a code for 20% off 🙌 If you’ve been needing some good new knives, comment KNIVES and I’ll send you the link!
I’m not sure how I managed to hold my arm this hig I’m not sure how I managed to hold my arm this high after finishing this ceiling😅 but the planks are done! 

And it looks like this is how this room was meant to be all along🤎
We have a wood ceiling🥳 It was another roller coas We have a wood ceiling🥳 It was another roller coaster to get there and an upper body workout I didn’t ask for😂

But watching that brown ceiling disappear and the wood planks take over was that part of a project where your vision finally comes to life, and let me tell you, it is the best part!

Next up - beams!

#diyplankceiling #plankceiling #ceilingmakeover
In retrospect, this may have been why it took me t In retrospect, this may have been why it took me three days to stain the planks…
After a whole lot of trial, error, and questionabl After a whole lot of trial, error, and questionable stain samples, here’s how I made inexpensive pine plywood look more like white oak for my bedroom plank ceiling!

First I applied a pre-stain wood conditioner, and I would not skip this step! Pine is a soft wood and can absorb stain unevenly and this helps it to have a smoother, less blotch finish. 

Then came the stain combination:
@minwaxusa Simply White
@minwaxusa Provincial

I used the Color Series oil-based stain for the Simply White because I found a gallon of it on sale @loweshomeimprovement. It was a little thicker than their regular Wood Series stain. I used a foam brush the first day, but it took a lot of work to cover the board so I bought stain pads and they were a lot faster, which was helpful when I had over 150 planks to stain! 

I wiped the stain off immediately and then applied a coat of Provincial right after, and also wiped it off immediately. 

Because I’m leaving a small nickel gap between the ceiling planks, I also wiped Provincial onto both short ends so no unfinished wood will show when they’re installed. 

Save this if you’re trying to tone down the yellow in pine, and comment STAIN and I’ll send the stain colors and supplies I used!
I know that this plank and beam ceiling in our bed I know that this plank and beam ceiling in our bedroom is going to be worth it but that stain decision almost took me out!🫠 The pine plywood made this project more affordable but at cost of my temporary sanity🤪 I’m grateful for the internet and those who walked this journey before me😂

#diyplankceiling #plankceiling #woodstaining
Blank walls love to see me coming😅 Blank walls love to see me coming😅
(ad) For six years, I’ve walked into our bedroom a (ad) For six years, I’ve walked into our bedroom and pictured planks and beams on this vaulted ceiling.

But every time I priced out tongue-and-groove boards, I’d tell myself “someday.” This time, instead of giving up on the idea, I found a different way to make it happen.

I’m turning plywood into 154 plank boards, and while this project has already come with a few hard learned lessons (grain direction definitely matters😬), it’s also reminded me that DIY isn’t about getting everything right the first time as much as it’s about figuring it out as you go.

This is just part one, but for the first time in six years, this ceiling finally feels like it’s becoming a reality.

Huge thanks to @SKILPowerTools for partnering with me on this project. Their table saw made the biggest and most intimidating part of this build feel so much more manageable.

Who’s ready to see these planks go up?

#MadeWithSKIL
  • Home
  • Blog
  • Work With Me

© 2026 The Beckler Abode • Rosemary Theme by Restored 316

  • Home
  • Blog
  • Work With Me
Search