What I Wish I Knew Before Installing Vertical Shiplap
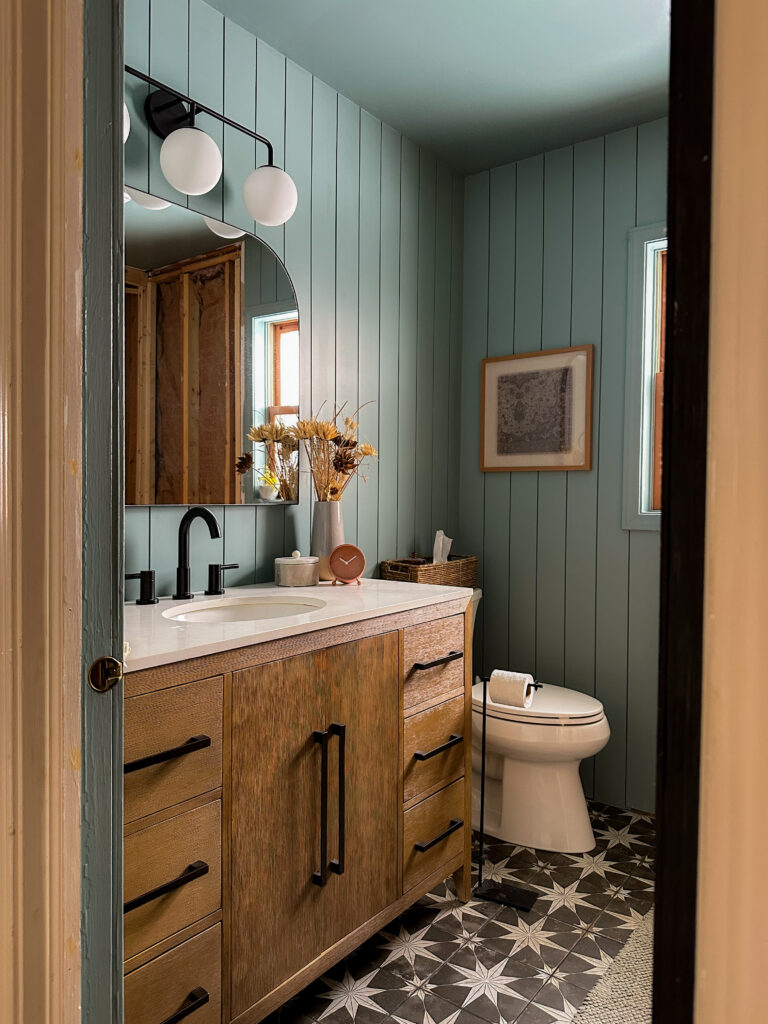
When planning our bathroom renovation, I realized I kept pinning pictures of vertical shiplap. There’s something about it that feels timeless, modern, and cozy! I thought it would add the perfect amount of texture and interest to our bathroom.
I had never installed shiplap before, so I definitely had a few things to figure out along the way. The good news is overall it turned out to be a pretty easy, straightforward project! Here’s what I learned and my tips for installing vertical shiplap:

Quick note: This post contains affiliate links. If you purchase something from a link, I will receive a small commission. This is at no extra cost to you! Thank you for your support!
PAINT THE EDGES BEFORE INSTALLING
I learned my lesson when I DIYed these plank closet doors. I didn’t paint the thin edges of the boards and had to go back through with a tiny brush and fill them in. This tedious task could have easily been avoided if I’d done it before I attached them.

And make sure you paint both edges of the boards before you install them. Painting the tongue is enough since another board will lay on top of it, but you also want to paint the other slim side before installing. I didn’t paint it on the first few boards I put up and had to go back and paint them after… trust me, it’s a lot easier before!

DECIDE HOW YOU’RE GOING TO SECURE THE BOARDS
There are a few different ways to secure your vertical shiplap on the wall, so you’ll want to pick the method that works best for you. One way is to screw furring strips horizontally into the studs along the wall and then nail each shiplap board into the furring strips. Our bathroom isn’t huge and I didn’t want to lose any more square footage, so I decided to do it a second way. That was to mark the studs in the wall and make sure any board that landed on one was nailed into the stud and then use a criss cross technique for nailing the rest of the boards. With this you want to make an X behind the boards with the nails – one gets nailed in pointing down and one pointing upward. The nails crisscrossing each other secure the board to the drywall.
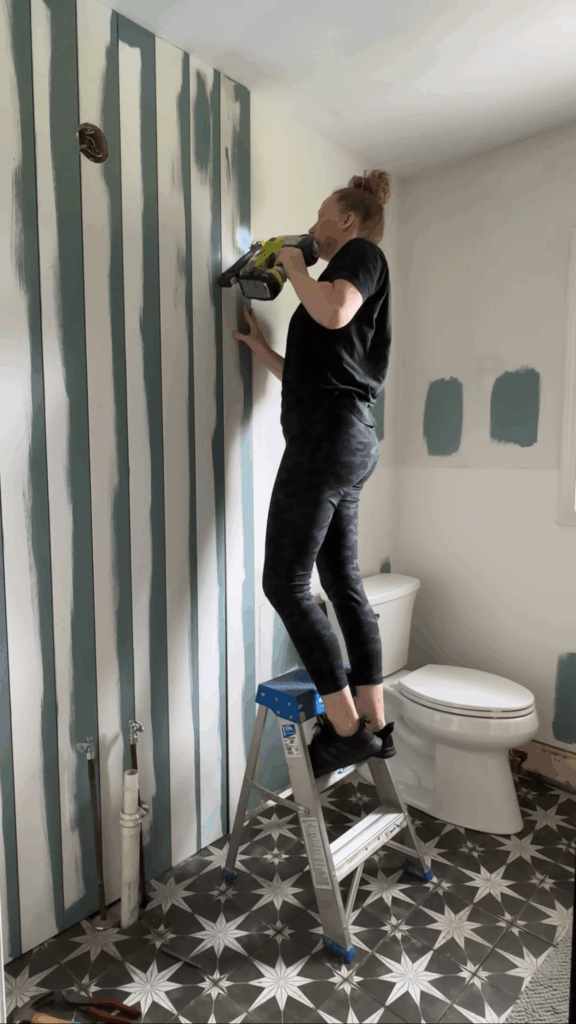
MAKE SURE TO STAY LEVEL
Just like with wallpaper or other wall treatment, you want to make sure everything stays level. I recommend using a laser level to make sure the first board goes up completely level (fun fact: walls and wall corners aren’t always plumb and level), then check again every so often. Making sure to push each shiplap board completely into the one before it and securing it with nails along the top, middle, and bottom will help keep your wall treatment level as well.

PLAN FOR OUTLETS AND SWITCHES
Hanging shiplap boards will impact your electrical outlets and switches. An electrical box sits flush against the drywall and switches and outlets screw right into those. But the shiplap will extend past the electrical boxes, so you’ll need a way to bump the outlets and switches out to align flush with the shiplap. The easiest way to do this is through outlet extenders! Turn the power off and then pop these behind your switches and plugs and you’ll be able to attach your covers with no problems!

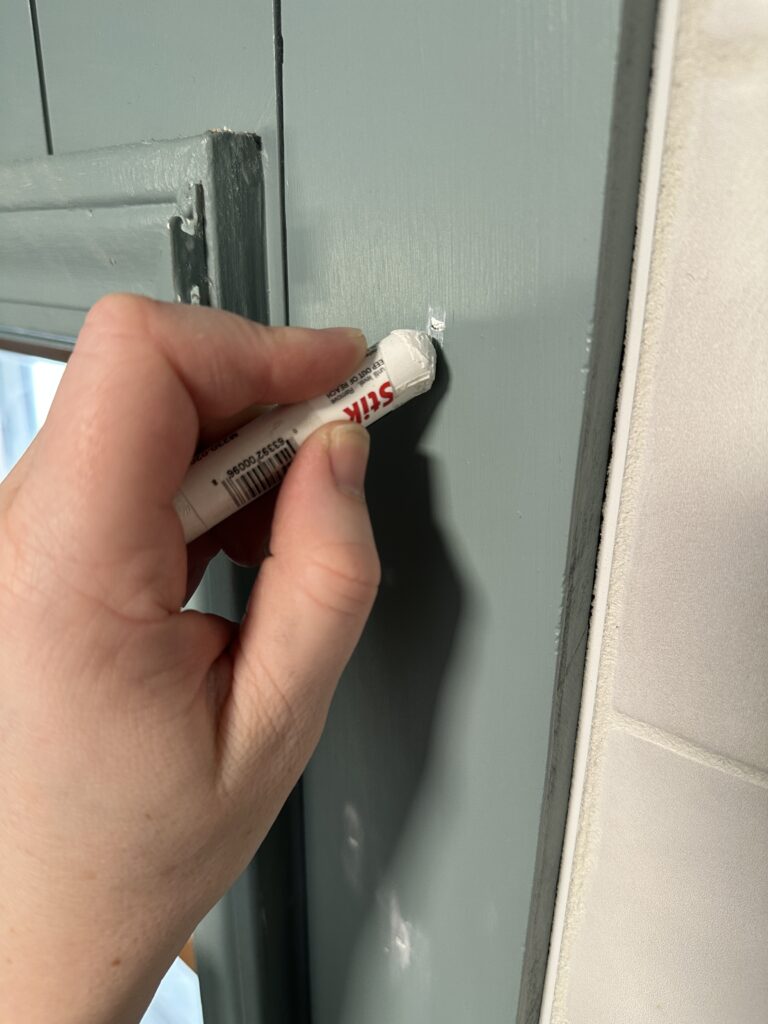
USE A WOOD FILLER STICK
You’ll be left with a lot of nail holes after you’re done. Instead of filling them with wood filler, waiting for it to dry, and sanding it all down, I recommend grabbing a Fil-Stick. It’s basically like a crayon that you rub into the wood until it fills the hole. You can smooth any extra down with your finger and it’s immediately ready for paint. No waiting around, no extra mess, just a finished project!
One last install tip is to make sure you push the boards all the way to the ceiling when you’re nailing them in. The bottom will be covered by a baseboard so you don’t have to worry about the boards being a little uneven there. But you’ll want to make sure you get a consistent line at the top with your ceiling.
If you keep these things in mind, installing vertical shiplap will be a straightforward project and completely change the feel of your space!